Home | Contact Us | Submit Troubleshooting Info | Search | Help
Output | Software Solutions | Proofing | Color, Screening and Calibration | Scanning | Digital Photography | Consumables | POS
Home | Contact Us | Submit Troubleshooting Info | Search | Help
Output | Software Solutions | Proofing | Color, Screening and Calibration | Scanning | Digital Photography | Consumables | POS
Ripro Backup (Legato) TIC - Installation Guide
Previous Page | ToC | Next Page
Networker Installation and Configuration
Server Configuration
 |
During this phase, the software allocates
the required disk space for the NetWorker (application and indexes). If
there is not enough disk space (at least 200MB disk space is required),
the following error message is displayed and the operation is aborted: Not enough Free space in rootvg to install Backup |
Refer to the Enlarging/Backup Filesystem for enlarging the /backup file system.
- From the Scismit main menu choose Backup and Restore and press Enter.
- Choose Automatic Backup and Restore and press Enter.
- From the Automatic Backup and Restore menu choose Server Configuration and press Enter.
- Press Enter again at the “Are you sure...?” dialog window.
Install NetWorker man pages [yes]?
Directory for main pages: [/backup/man]
Install the aix41 NetWorker programs [yes]
Directory where aix41 NetWorker programs should be installed [usr/bin]
Do you wish to continue with nsr_ize?
To set up the NetWorker server you need to supply a directory with enough free space to maintain all the on-line file indexing and media management information.
To setup NetWorker client, you need to supply a directory for the nsrexecd state file.
Do you wish to continue with nsr_ize?
Directory to use for server and client information [/dataVolumes/rtest7.2.0/nsr].
The following is a list of tape devices available on your system:
rmt0 Available 00-00-0S-40 Other SCSI Tape Drive
rmt1 Available 00-00-0S-30 Other SCSI Tape Drive
Enter device name [Return]:
Enter device name [Return]:
Follow instructions on screen.
Enter the first NetWorker server’s name (enter the value “all” allowing access to all NetWorker servers) [no more]:all
Start NetWorker daemons at end of install [yes]: ?
Note: Do not start the daemons if you plan to install the patches.
Install the NetWorker device drivers [yes].
NetWorker successfully installed on Ripro1
If the /backup file system (space defined for indexes) must be enlarged, perform:
chfs -a size=+200000 /backup and press Enter.
This adds 100MB to the file system. For each 32GB of file system add another 100MB of file system.
Changing Password for user Backup
To change user Backup password to null:
#nsrd
#nsrexecd
For “Timna” Version
Note: Do not login as cdesci on the Timna station till database is defined.
For Version 2.2.30
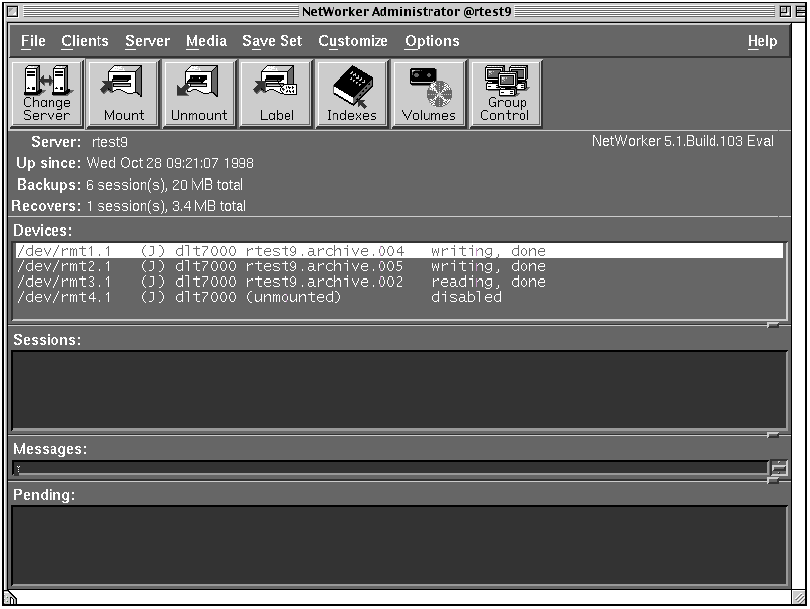
NetWorker can be accessed from the CreoScitex Server with a graphic monitor or from the Macintosh front end (if you have a CreoScitex Server Terminal with an IBM 3151 terminal or equivalent).
From the CreoScitex Server:
The NWAdmin dialog window is now displayed.
From the Macintosh:
The NWAdmin dialog window is now displayed.
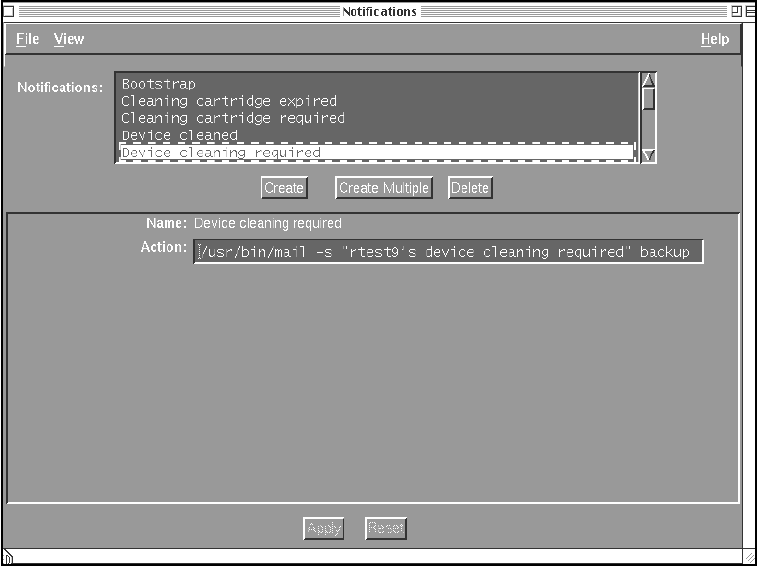
Setting the Event Notification Mechanism
The Notifications mechanism advises the user of events (both pre-configured and user configured) that occur in the NetWorker system. Messages are sent through the electronic mail.
To set the Event Notification system in order to send messages to user Backup, follow these steps:
/usr/bin/mail –s “ripro1’s bootstrap information” backup
This sends the bootstrap into a separate mail.
Important: The user must print out the Bootstrap information daily through the Helios Mail from Macintosh.
To determine the number of devices and sessions per device that can be activated in parallel:
|
This optimizes the performance for retrieval, rather than for backup/ archive. |
Working in the Domain Name Server Environment (DNS)
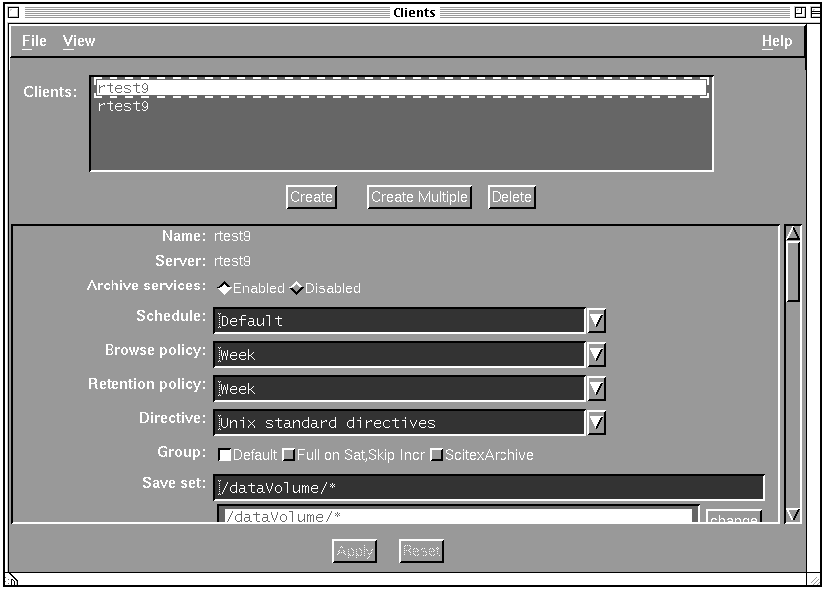
When working in a DNS environment with a NetWorker, the client setup must be changed accordingly.
ripro1.stil.scitex.com.
ripro1.stil.scitex.com.
ripro1
Enabling Archive Module (for Ripro Server 5000 Only)
Note: Not to be used on CreoScitex Archiver.