Note: When you open a door, insert a mechanical defeater. Before handling
the drum, remove the defeater.
Loading system
Note: This procedure is for manual devices. If your configuration includes
the MCU, refer to MCU PM procedure.
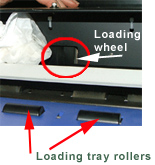
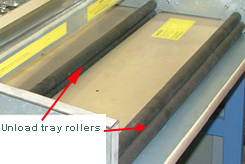
From the loading side of the device, clean the loading tray rollers and the
loading wheel with the press blanket cleaner.
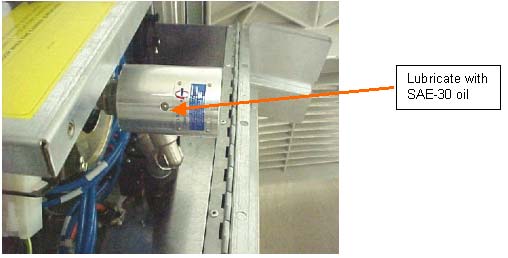
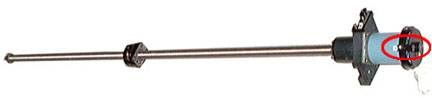
Swivel rotation unit
From the right side of the platesetter, remove the two screws from the light
cover, and then remove the light cover.
Lubricate the swivel rotation unit with SAE 30 motor oil.
Reinstall the light cover and close the right side door.
E-box fans
Clean the fans with a vacuum cleaner.
Vacuum pressure
Connect the vacuum gauge tube to the drum vacuum nipple below the swivel
joint.
Activate the vacuum pump, and verify that the tube is connected correctly
and does not leak.
After the pump is activated, wait at least two minutes, verify that the
dial is vertical and the reading is stable, and then read the vacuum pressure.
Between 0.21 bars and 0.22 bars (6.2"–6.5" mercury):
Proceed to step 4.
More than 0.22 bars
Check the drum holes and clean them if required.
Check for clogging in the system and clean if required.
Less than 0.21 bars
Check all tubes and connections between the pump and the drum for
the following, and replace the relevant component, if required:
Leaks
Bad connections
Cracked tubes
Leaking swivels
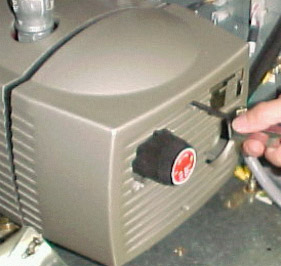
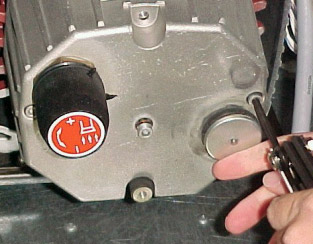
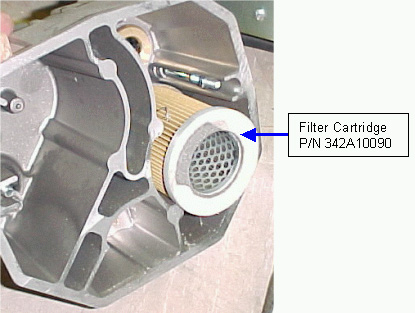
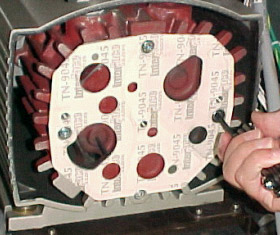
Check the pump filter and replace the filter, if required.
On the distribution box, on the connector to the pump, measure the
supply voltage. If the supply voltage is 208 V (phase to phase), replace
the pump.
Stop the vacuum pump.
Disconnect the vacuum gauge, and then reconnect the vacuum detector tube
to the nipple.
Lens protector
Remove the unload tray:
On the left, mark the location of the two air tubes, and then disconnect
them.
Disconnect the connectors:
Two unload detector connectors on the right for all devices
One connector on the left for non-Omron devices
Remove the two screws from the light cover and remove the light cover.
Remove the four screws from the unload tray assembly.
Taking care not to damage the motor wiring on the right side of the unload
tray, raise the left side of the unload tray and pull it out. Note: Do not remove the lens protector. Removing it can affect the
focus.
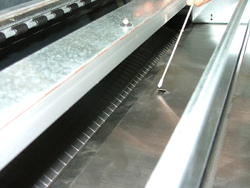
Using a cotton swab dipped in alcohol, clean the lens protector, taking
care not to scratch it.
Note: Do not reassemble the unload tray. You will reassemble it later,
after you perform V-block and carriage maintenance.
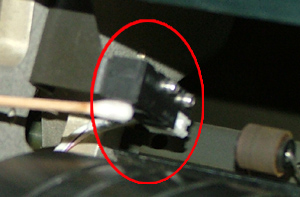
Light detector
Clean the light detector with a cotton swab and alcohol.
See FCO28131.
Vacuum hoses
Verify that the vacuum hoses are not worn or damaged, and replace if required.
Cleaning the drum vacuum holes
Remove any plates from the drum.
In Lotem Controller, turn on the drum vacuum.
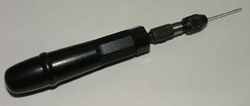
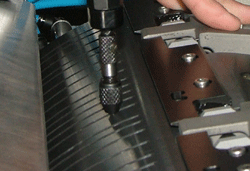
On the 0.8-mm drill, turn the chuck to open it, pull out the drill at least
1", and close the chuck.
Insert the drill at least 1" into a drum hole.
Swivel the drill to open and clean the drum vacuum hole.
Repeat steps 4-5 for each drum hole.
Note: Verify that the customer cleans the drum holes properly, on a
regular basis.
Edge detection strip and drum surface
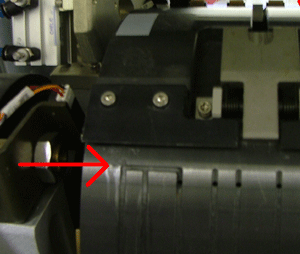
Clean the edge detection strip and the drum surface with a cloth dampened with
alcohol.
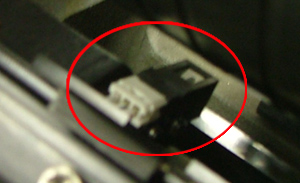
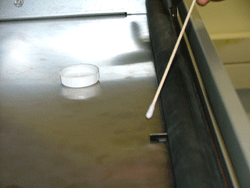
Load/unload gripper detectors
Clean the following detectors with a cotton swab and alcohol: