Home | Contact Us | Submit Troubleshooting Info | Search | Help


    Output | Software Solutions | Proofing | Color, Screening and Calibration | Scanning | Digital Photography | Consumables | POS


Upgrading from Magnus 400S speed to Magnus 400F speed


Product


Kodak® Magnus™ 400 (LDA)


Background


This procedure describes how to upgrade a Magnus 400 platesetter from a Magnus 400S speed (32 beams) configuration to a Magnus 400F speed (42 beams) configuration.

The following table describes the head type configurations for use on a Magnus 400 platesetter.

Head Type Description Part Number
F type

42 exposing diodes + up to six spare diodes

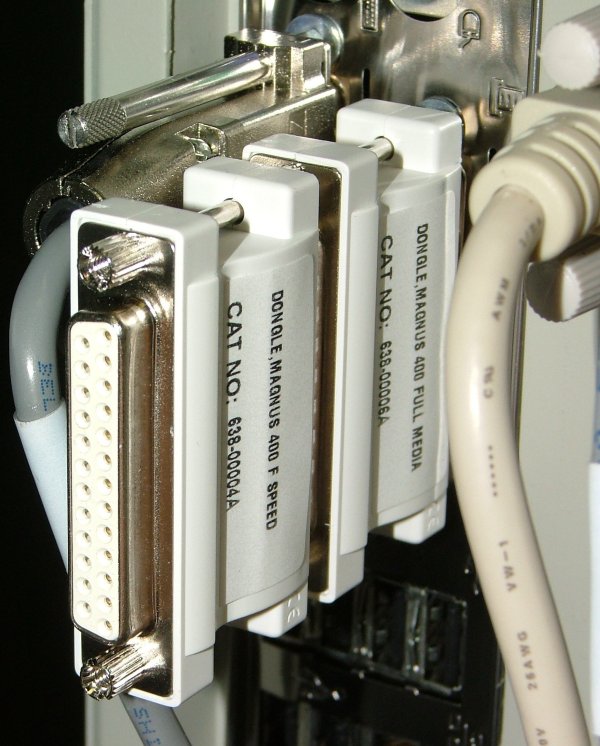
This head will be mounted on a Magnus F type configuration and requires a dongle (part number 638-00004A).

514-00093A
S type

32 exposing diodes + up to 16 spare diodes

This head will be mounted on a Magnus S type configuration; no dongle is required.

514-00135A


Identifying the Head Type on Your Platesetter

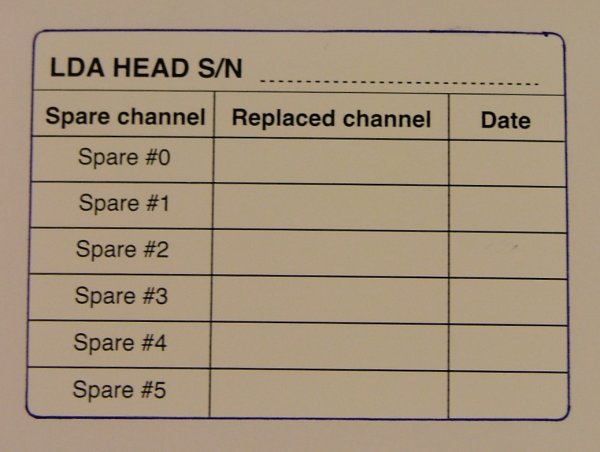
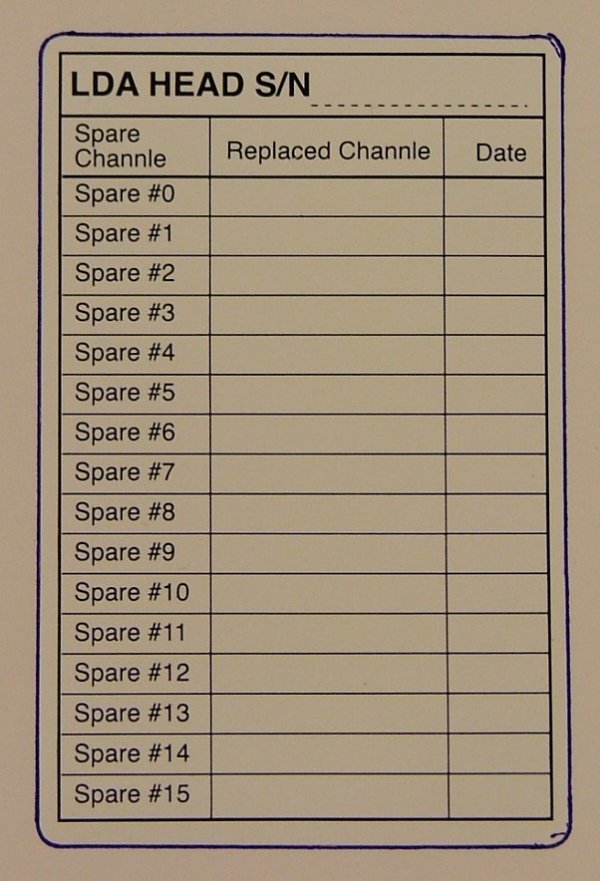
Identify the head type on your platesetter by checking the label on the cover of the laser box or the laser diode array (LDA) head, or by counting the number of spare diodes in the laser box. If the platesetter is an F type configuration, six spare diodes appear on the label. If the platesetter is an S type configuration, 16 spare diodes appear on the label.


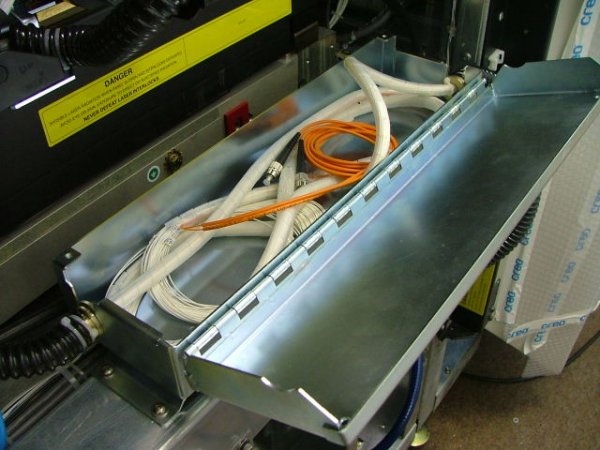
Laser box


F type - up to 6 spares
S type - up to 16 spares
   

Requirements

 
Part Number Description Quantity
638-00004A Dongle for Magnus 400 F speed key 1
514-00093A LDA head type F 1
651-00640A Magnus 400 Version 1.02.392 CD 1

Note: Two individuals are required to remove and install the LDA head assembly.


Procedure

 
  1. Save the non-default values.
    1. On the Operations toolbar, select Utilities > Hardware.
    2. In the Hardware window, click Save and select Non Default Values.
    3. In the Save Non Default Values dialog box, browse to the location where you want to save the non-default values and click Save.
      Note: When saving the non-default values, include the date in the file name.
  2. Save a list of the spare diodes for reference purposes.
  3. Open the rear door, and then shut down the platesetter.
  4. Replace the LDA head.
  5. Insert the Magnus 400F speed key dongle.


  6. Turn on the platesetter.
  7. If version 1.02.392 is installed on the platesetter, update the registry:
    1. In the Hardware tree, go to Expose System/Laser System and right-click Laser Group and select Properties.
    2. In the Properties: Laser Group dialog box, change the value of following parameters and click Apply.
      • Last Laser: Change from 31 to 41
      • Last Active Laser: Change from 31 to 41
    3. Go to Others and right-click Magnus400 and select Properties.
    4. In the Properties: Magnus400 dialog box, double-click +MACHINE.
    5. In the Properties: Magnus400\MACHINE dialog box, change the value of the Type parameter from Magnus 400S to Magnus 400F and click Apply.
    6. Go to Others and right-click Magnus400 and select Properties.
    7. In the Properties: Magnus400 dialog box, double-click +EXPOSE.
    8. In the Properties: Magnus400\EXPOSE dialog box, change the value of the Default Last Laser Number parameter from 31 to 41 and click Apply.
  8. On the desktop, rename the Magnus 400S icon to Magnus 400F.
  9. If version 1.02.392 is not installed, insert the Magnus 400 Version 1.02.392 CD into the CD-ROM drive and start the software installation.
    Note: For installation instructions, see the Magnus 400 Controller 1.01.391.003 to 1.02.392 Software Upgrade Procedure.
  10. Load the non-default values.
  11. Update the spare diode information, accordingly.

Test


Run the following tests:


Technical contact
 

Content owner: Alon Davidor
See the Escalation page for escalation contacts.

Date submitted
 

18 Feb 2007


    Copyright © 2005 Creo Inc. All rights reserved. Confidential. Back to top.