

Home | Contact Us | Submit Troubleshooting Info | Search | Help
Output | Software Solutions | Proofing | Color, Screening and Calibration | Scanning | Digital Photography | Consumables | POS
Home | Contact Us | Submit Troubleshooting Info | Search | Help
Output | Software Solutions | Proofing | Color, Screening and Calibration | Scanning | Digital Photography | Consumables | POS
Print version: To print out the instructions below, click on the print icon  at the top of the page.
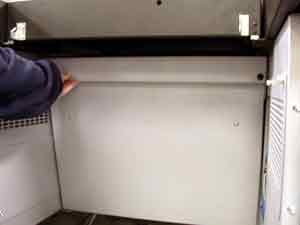 |
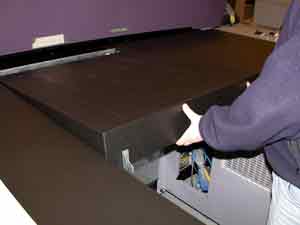 |

Remove the head access panel [details] |

Remove the table center panel [details] |
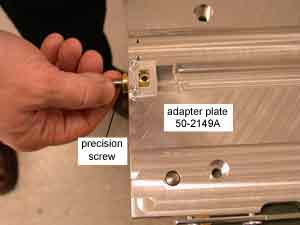 |
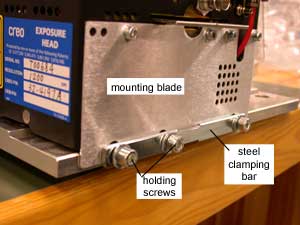 |

Back off the precision screw on the adapter plate [details] |

Mount head on the adapter plate [details] |

Screw in the precision screw on the adapter plate to apply force to the rod [details] |
|
Warning: Be careful not to bump the lens, shutter, or autofocus actuator on any protrusions. Do not allow the head to drop down onto the carriage - the sudden impact could shift the components inside the head and cause misalignment.
Slowly turn the drum by hand to check that the head has clearance from both the leading edge and trailing edge clamps.
Warning: Failure to check clamp clearance could result in severe damage to the head and clamps.