

Home | Contact Us | Submit Troubleshooting Info | Search | Help
Output | Software Solutions | Proofing | Color, Screening and Calibration | Scanning | Digital Photography | Consumables | POS
Home | Contact Us | Submit Troubleshooting Info | Search | Help
Output | Software Solutions | Proofing | Color, Screening and Calibration | Scanning | Digital Photography | Consumables | POS
(The safety interlock override keyswitch will not enable the TH2.0 focus laser or the write laser.) Always lift the head by the two retractable handles that slide out from each end. Always wear an antistatic wrist strap to prevent static discharge from damaging the head. |
Print version: To print out the instructions below, click on the print icon  at the top of the page.
 |
 |

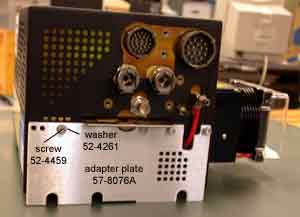
Attach one mounting blade (57-8076A) to the outside of the casing on the connector end of the head [details] |

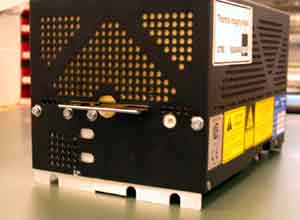
Insert the second mounting blade under the sheet metal on the other end of the head [details] |
|
|

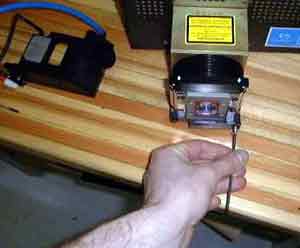
Attach the nozzle mounting lip [details] |

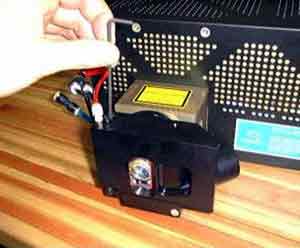
Bolt the nozzle assembly to the head [details] |
|
|

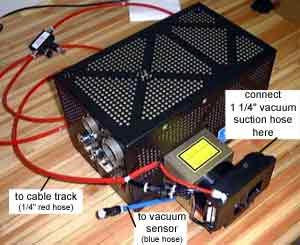
Make the debris removal connections [details] |
|
Warning: Do not scratch the final window optic on the TH2 head while installing the nozzle.